Provides infrastructure layer compute capabilities, including both bare metal and virtual servers with various optimizations includins compute, memory, IO, and disk. Also supports accelerations options such as GPUs, FPGAs, Inferentia and Trainium.
Provides image recognition capability for images (in batch or real-time) and video that provides a analysis of the content such as real-world objects, faces, celebrities, and path mapping.
Provides a publish/subscribe notification service with multiple subscription types including Amazon Simple Queue Service (SQS), Amazon Kinesis Data Firehose, AWS Lambda, generic HTTPS endpoints, SMS and email.
A serverless, fully-managed, message queue service that supports producing, store, and consuming messages and enables loose coupling between applications.
Provides private networking capability spanning multiple availability zones and supporting subnets, routing, network access control groups, security groups and gateways.
Provides tracing of service invocations in distributed applications for observability, allowing users to diagnose issues or optimize their service interactions.
All about Cloud, mostly about Amazon Web Services (AWS)
Account Login to AWS Organizations Created Accounts
2017-07-16 / 744 words / 4 minutes
The processes related to using AWS Organizations are mostly pretty well documented in the AWS Organizations User Guide. The user guide covers the creation of Organization Units into a hierarchy, creating Accounts and associating them with Organization Units, and the attachment of Service Control Policies. It doesn’t describe the process for Account Login to Accounts created using AWS Organizations in much detail. This post covers this missing detail!
The process falls into three stages:
Account Login to the Master Account
Switching Roles
Assume Role into the new Account
Account Login to the Master Account
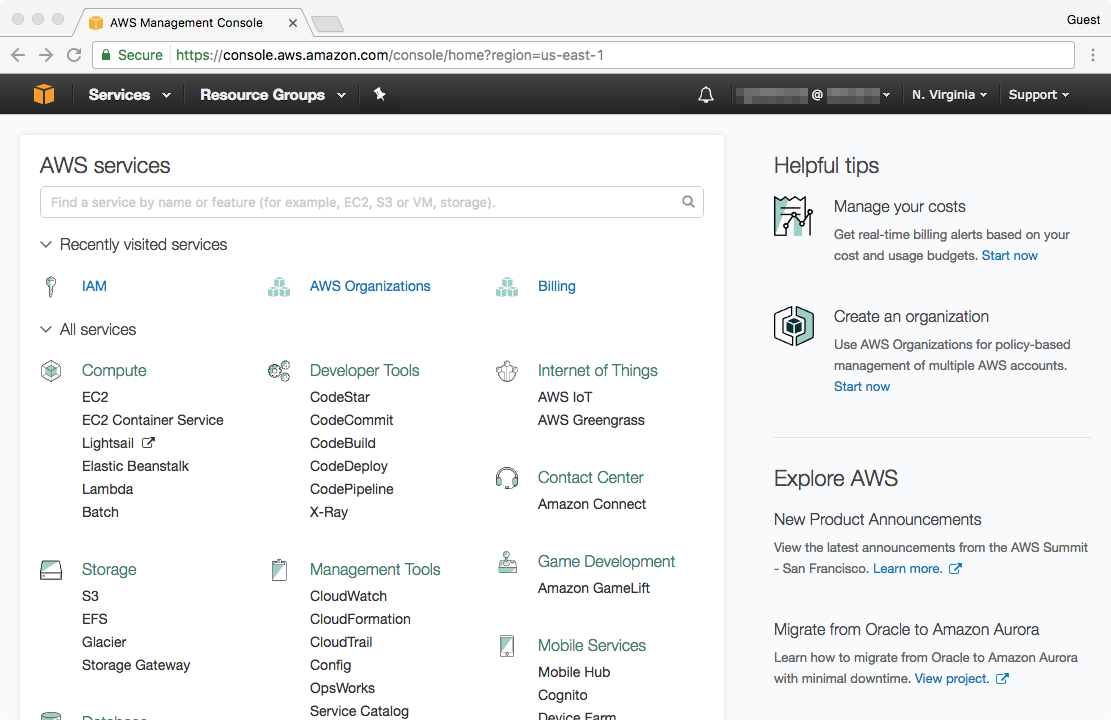
The master account, which was used to to access AWS Organizations and create the other accounts in the first place, may already be logged in. The image below shows the AWS Console at first login:
The current AWS Identity and Access Management (IAM)tippy(’#ref_e64268f111dff454a3b685a2f2681e3d’, { content: document.getElementById(‘content_e64268f111dff454a3b685a2f2681e3d’).innerHTML, allowHTML: true, arrow: true, duration: [1000, 1000], interactive: true, maxWidth: 400, placement: ‘auto’,}); user is usually shown in the header before an “@” symbol. The AWS Account name or ID is usually shown in the header after the “@” symbol. For security reasons they are both obfuscated in the image above.
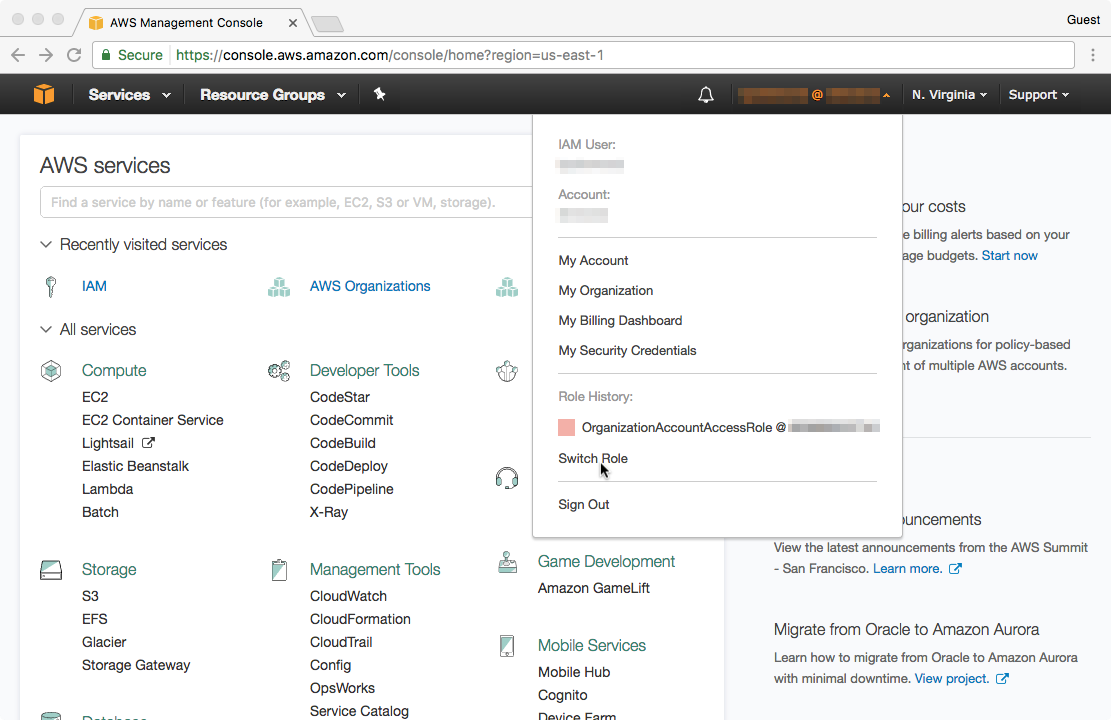
A menu opens when you click on the caret (“^”) next to the AWS Account name. The IAM user, the “@” symbol, and the AWS Account name or ID change color:
The menu displays the current IAM User name and the current AWS Account name at the top. They are both obfuscated in this image. Role History contains a list of IAM Roles that I have already assumed, plus the ability to switch to a new IAM Role. The list of roles already assumed is in a similar format as used earlier. The IAM user is shown before an “@” symbol, and the AWS Account name or ID is shown after the “@” symbol.
In the image above, it shows that the user has previously assumed a role called OrganizationAccountAccessRole. The AWS Account shown after the “@” is obfuscated.
Choose “Switch Role” :
Switching Roles
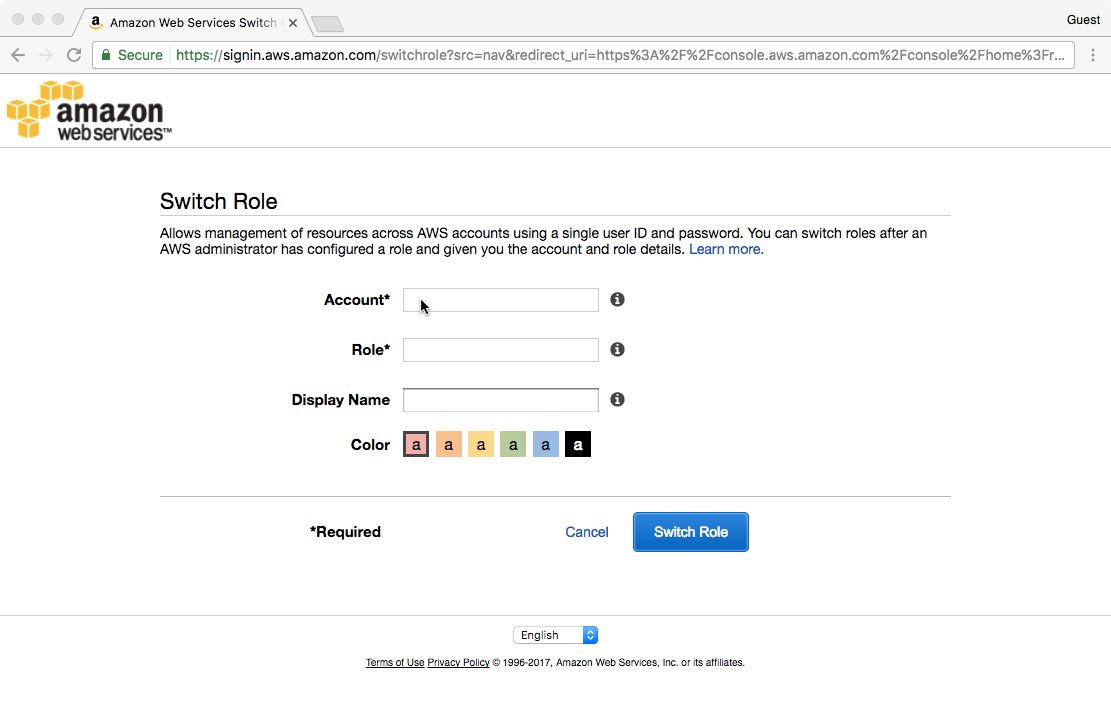
Selecting “Switch Role” brings up a new page:
Two items are mandatory:
The AWS Account, either name or ID, of the Account to switch to. The AWS Account ID will be visible on the AWS Organizations page, but it makes sense to record it.
The name of the IAM Role to assume. When working with AWS Organizations, unless you set a custom IAM Role, AWS Organizations will create an IAM Role for you, called “OrganizationAccountAccessRole”